Completing the Fitting Simulation
You can run the fitting simulation any time during the fitting process to test how the various methods are working on the clothing item. You will also need to run the fitting simulation after you complete your fitting, in order to generate the clothing item that fits the character.
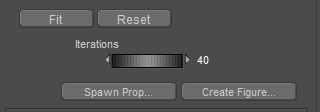
The controls to run the simulation and generate the final piece of clothing are at the top of the Fitting Simulation palette.

Controls for finalizing the fitting session.
- Fit: Click the Fit button to run the fitting simulation. You can do this at any time during the fitting process to check how each fitting method affects the clothing. You’ll also need to do it before you spawn a prop or create the clothing figure to fit your specific figure.
- Reset: Clears the results of the fitting simulation from the clothing. This returns the clothing back to its default shape and position.
- Iterations: The number of times that fitting calculations are repeated to achieve the fit. Higher values take longer but can provide a more accurate fit.
- Spawn Prop: Click this button to create a prop based on the current shape of the clothing. You will be prompted to enter a name for the new prop. The new prop will appear in the Pose Room, but will not be rigged to conform to the figure.
- Create Figure: Click this button to create a new conforming figure based on the current fit. The steps are as follows:
- The New Figure dialog prompts you to enter a name for the new conforming figure.
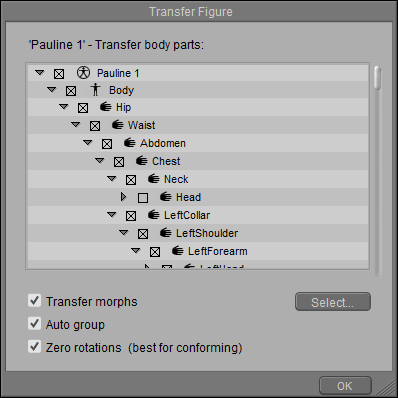
- The Transfer Figure dialog appears. Use the Hierarchy List to check or uncheck the body parts that you want to keep in the figure.

Check the Keep Morphs option to add character morphs to the clothing.
- If you want to transfer morphs from the character to the clothing, check the Transfer Morphs option.
- Check the Auto Group option if you want to regroup the clothing to match the groups in the figure. If you have already added the correct figure groups using another means, you can uncheck the option to preserve the existing groups.
- Check the Zero Rotations option to set all rotations for each body part to zero. The results will be the same as what you achieve when you zero a figure after conforming new clothing to a figure.
- Then click the Select button to choose the morphs that you want to transfer to the clothing.
When you return to the Pose Room, conform the clothing to the figure. Then with the Body actor selected on the clothing, switch to the Properties palette. Check the Include Morphs option in the When Conforming section of the Properties palette so that the clothing will automatically fit when you adjust the character’s morphs.

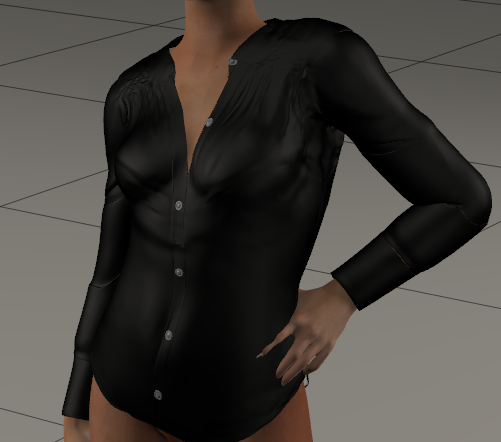
The fitted shirt.
- Check the Auto Group option to group the clothing based on the groups in the figure. Uncheck this option if you want to use other methods to add groups to the clothing.
- When you switch to the Pose Room you’ll see your new clothing item. Select it, and then choose the Figure > Conform To command to conform it to your character.
The original version of the clothing will still appear in the scene. You can safely delete the original version without affecting the copy that is in the Fitting Room.