Creating Nodes
Creating additional nodes is the first step to creating your own shader tree (remember that all shaders have at least a root node).
To create a node, use one of the following methods:
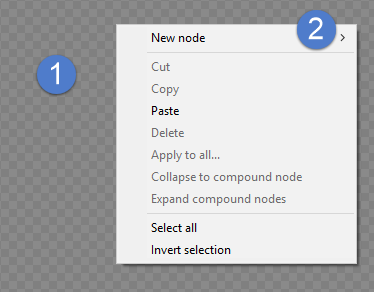
- To create a new node anywhere in the Edit material view, right click in an empty area in the material view (1) then expand the node menu (2) to choose New Node > Category > Subcategory > Node. Then connect the new node to the locations you desire.

Creating a new material node.
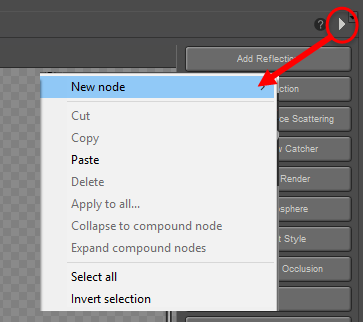
- To create a node from the Material room Options menu, click the arrow in the upper right corner of the Material room and select New Node > Category > Subcategory > Node. Connect the new node as desired.

Node options menu.
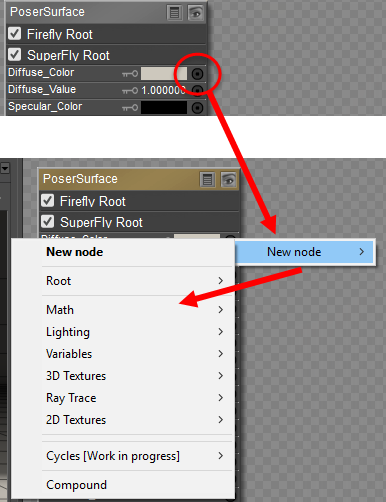
- To create a new node that is automatically connected to a node input, click the desired node input to display the Options menu. Alternatively, you can drag from a node’s input to an open area in the view will pop up the new node menu. Your new node will appear with its output already linked to your current node’s input. If you access the Options menu in any other manner (see above), the new node will not be linked.

Click a connection to display the New Node menu, then select the desired node.