Smooth Translation Bending
In previous versions of Poser, translations of body parts would result in irregularities in the areas between the joints. When you add smooth translations to a joint, the area between the two body parts blends more smoothly when you translate a body part. Smooth translation bending will be effective for facial parts such as jaw or facial animation.
Smooth translations rely on smoothing zones to work properly. Content creators will need to make sure that smoothing zones are working properly in clothing. See Smoothing Scale Zones.
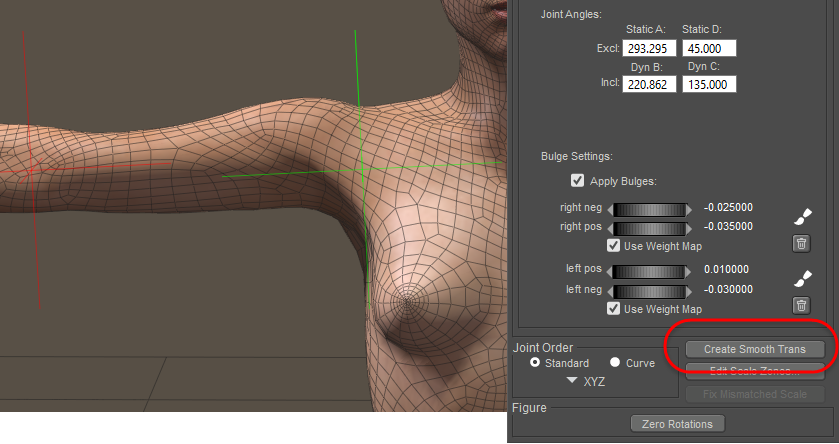
Smooth translations are not enabled by default, You will need to add them in the Joint Editor as follows:
- Click the body part to which you want to add the smooth translation.
- Open the Joint Editor.
- Expand the joint list and choose Create Smooth Translations. This adds smooth translation to the selected joint only. This command will not appear if smooth translations have already been applied.
- To translate the selected joint, press the Esc or / (forward slash) key while dragging the body part with your mouse. The area between the current joint and its parent should blend smoothly. You will be able to see the results more clearly if you are using one of the lined display modes, such as Smooth Lined or Texture Shaded Lined.

The Create Smooth Translations menu item adds smooth translations to the selected joint.
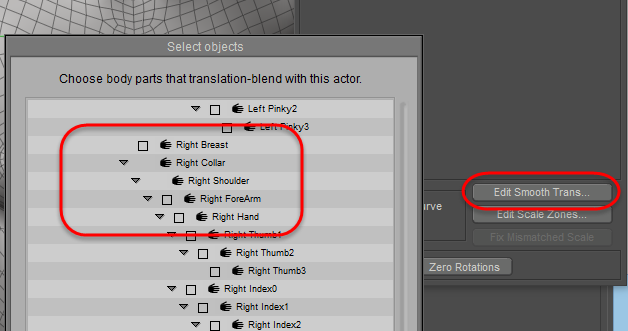
- By default, the adjacent body part blends with the selected part by default. To add other parts for blending, click the Edit Smooth Trans button in the joint editor palette to open the Select Objects hierarchy list. Use this list to choose the body parts that will blend with the selected actor. For example, if you have selected the right collar of a figure, it will blend with the right shoulder.

The Edit Smooth Translations button allows you to choose other actors to include in the blend.