Creating Full Body Morphs with GoZ
The Figure > Export Figure Mesh to GoZ command allows you to export a complete figure from Poser into ZBrush. When you export a complete figure through GoZ and then return it back to Poser using the GoZ plugin for ZBrush, a full body morph dial will automatically be created for you when the morph is sent back to Poser. In addition, corresponding dials will only appear on the body parts that were directly affected by the morph (in other words, there will be no need to delete redundant morph dials from unaffected body parts).
To create a full body morph using GoZ:
- Load the figure that you want to morph into your Poser scene, and select it as the current figure.
- Choose Figure > Export Figure Mesh to GoZ. A dialog displays some options for the export. The options are different depending on whether you are exporting a Poser Traditional mesh or a Poser Unimesh.
- When exporting a figure that is assigned the skinning method of Poser Traditional (Figure > Skinning Method > Poser Traditional), check the Export Posed option if you want to export the figure as it currently appears in Poser. This includes any translations or morphs that are applied to the figure. When you export a posed figure into ZBrush, Poser will save a differential morph (that is, the morph that returns from ZBrush will not include the morphs and translations that were already applied to the figure; it will only include the changes that you made inside ZBrush). Therefore, checking the Export Posed option is beneficial if you want to create a joint controlled morph.
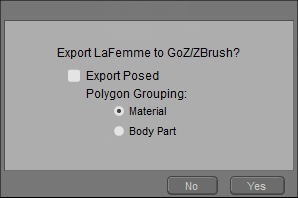
GoZ options dialog for Poser Traditional mesh.
- When you check the Export Posed option, Poser automatically creates a pre-transform morph when you return to Poser via GoZ.
- The option to create a pre-transform morph will be disabled when you return to assign a name for the morph in Poser.
- When you export a posed figure into ZBrush, Poser will save a differential morph (that is, the morph that returns from ZBrush will not include the morphs and translations that were already applied to the figure; it will only include the changes that you made inside ZBrush). Therefore, checking the Export Posed option is beneficial if you want to create a joint controlled morph..
- If you uncheck the Export Posed option, you will be allowed to choose whether or not the new morph is a pre-Transform morph or not when you return the morph back to Poser.
- For high resolution morphs, export a subdivided figure that is assigned the skinning method of Poser Unimesh (Figure > Skinning Method > Poser Unimesh). The dialog will present different options if the Preview subdivision level is set to 1 or higher in the Properties palette. Check the Bake Results option if you want to export the figure with translations and morphs applied. The subdivided model will then open in ZBrush and you can create a high resolution morph target that can be imported back into Poser. Only changes made inside ZBrush will be imported back to Poser.
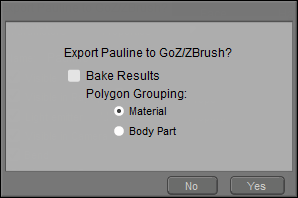
GoZ options dialog for a subdivided Poser Unimesh.
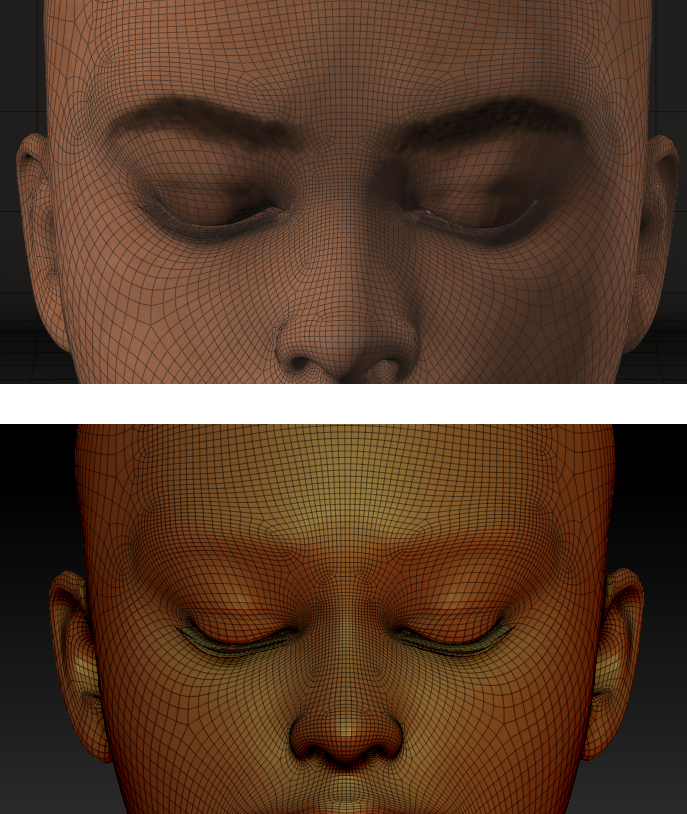
Figure that is subdivided and posed in side Poser (top) and ZBrush (bottom).
- In the Polygon Grouping section, you have two choices for how you can group polygons when you export them to ZBrush. The method that you choose determines how you will be able to show and hide parts within ZBrush (either by material, or by body part) and are primarily for ease of editing in that application. For more information, see Exporting Objects to ZBrush.
- Click Yes to continue. Your model will open in ZBrush as a subtool. Drag the tool onto the scene and create your morph as you normally do.
- After your morph is complete, click the GoZ button in the Tool palette (in the upper right section of your screen by default) to send the OBJ file back to Poser.
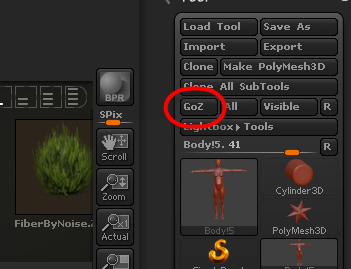
Press the GoZ button to send the morphed mesh back to Poser.
- When you return to Poser, a dialog asks if you want to import the modified geometry as a full body morph. Choose one of the following options:
- If you are creating morphs in clothing to match a figure’s full body morph (such as Heavy, Voluptuous, Muscular, and so on), you should check the Apply new morphs before joint rotation option.
- If you are creating joint controlled morphs that are used to correct the appearance of a joint after it is bent, leave the Apply new morphs before joint rotation option unchecked.
For more information about applying morphs before or after joints are rotated, see .
- Enter a name for the new morph and press OK to continue.
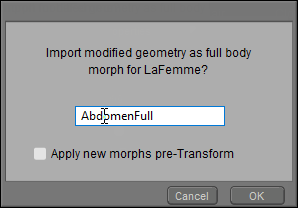
Enter a name for the new full body morph in Poser.
- Initially, the dial will be set to zero. To test the morph, choose the BODY actor, and dial your morph to test it. You’ll also notice that a corresponding dial will only appear in the individual body actors that were affected by the morph.
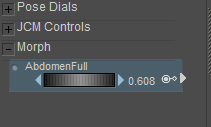
Test the dial in the BODY actor to make sure it works.