Animating Magnet Zones
Select the right forearm and create a magnet using the Object > Create Magnet command.
Create a magnet on the right forearm.
Select the magnet base, and then scale and position the magnet over the right forearm. Then scale and position the magnet zone to surround an area along the top of the forearm.
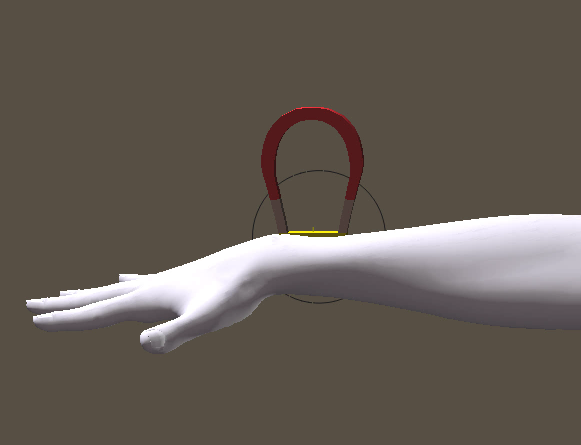
Scale and position the magnet base and magnet zone.
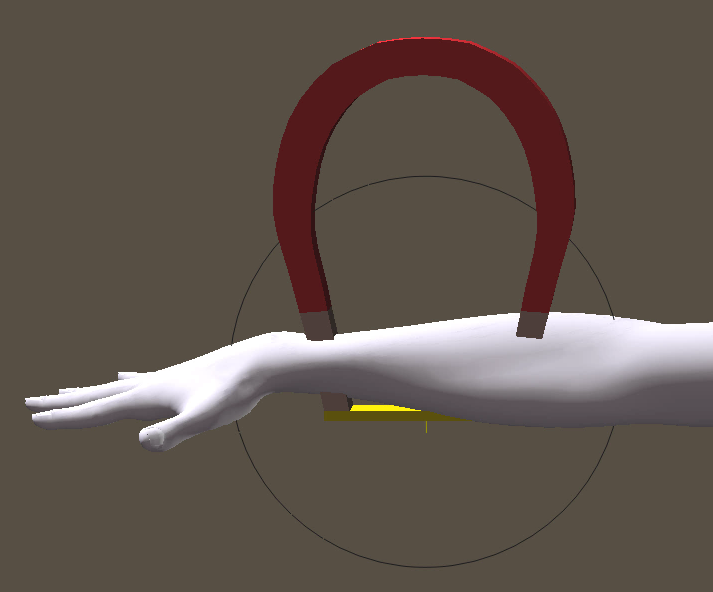
Select the magnet, and raise it along the Y axis to create a bump in the forearm.
Scale and position the magnet base and magnet zone.
With the magnet selected, switch to the Properties palette. Click the Add Element to Deform button for each body part that you want the magnet to affect. Repeat this step to assign the Right Hand, Right Shoulder, Right Collar, and Chest.
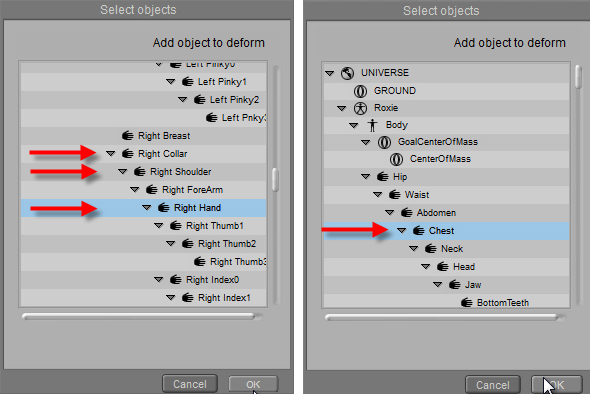
For the magnet, add (one at a time) the Right Hand, Right Shoulder, Right Collar, and Chest as elements to deform.
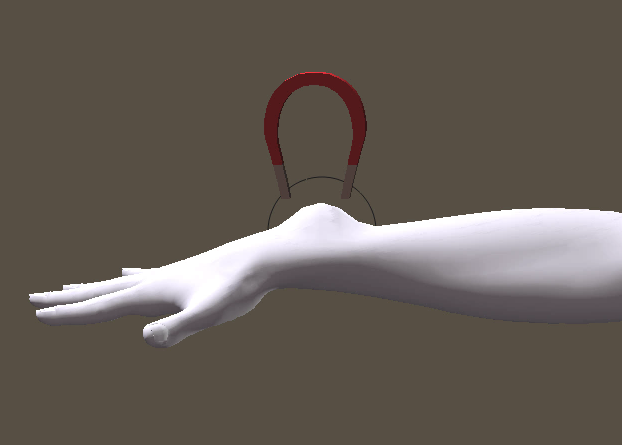
Go to the first frame in your project. Select the magnet zone, and move it into position over the right hand. Then go to frame 30 (or the last frame in your animation), and move the magnet zone over the shoulder.
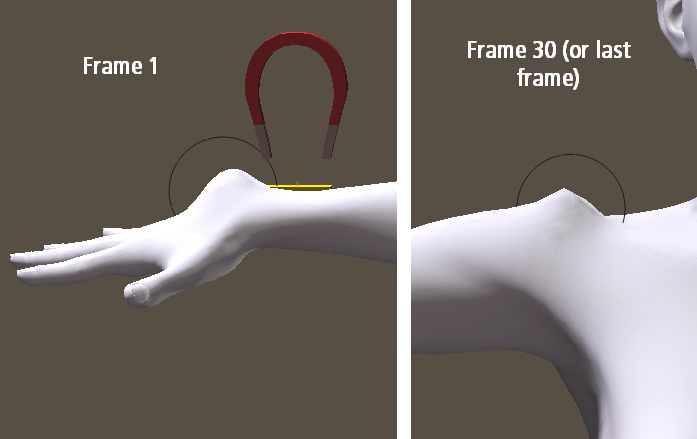
Position the magnet zone on the first and last frames of your animation.
As the animated joint zone passes over the affected body parts, you’ll see the bump affecting the actors that you assigned as affected actors. The bump will affect the hand, then the forearm, the shoulder, the right collar, and the chest over the course of the animation.