Figure Poses
Poses were originally designed as pre-defined poses (standing, sitting, working, and so on) that you could apply to your currently selected figure. Pose files store pose information for an entire figure, including its hands (see below for more information). They contain joint positions for each of the figure’s joints (such as Left Elbow bend 45 degrees).
When adding a pose to a figure, facial expressions are not applied, even if they are included in the Pose file. This preserves any work you have done to your face prior to applying the pose. To apply facial expressions, choose items from the Face category in your library. If the pose contains morph settings they will override the values on the figure to which they are applied.
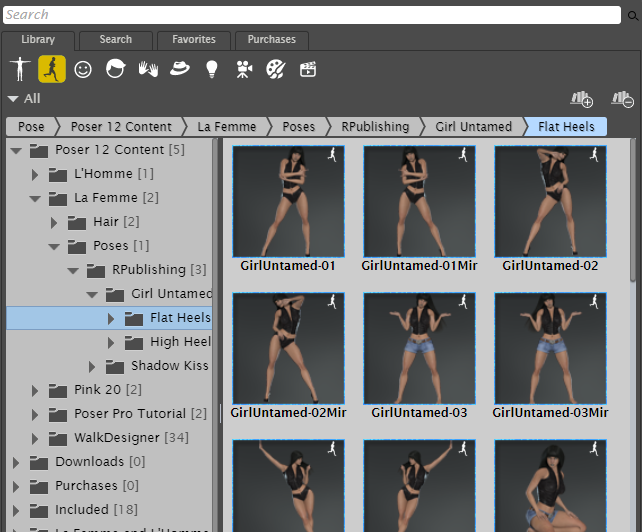
Use presets in the Pose category to pose your characters.
To add a pose to a figure:
- Select the figure (not its clothing) to apply the pose to.
- Open the Poses category and highlight the pose that you want to apply to the figure.
- Choose one of the following options:
- Click the single check mark button to apply the pose to the selected figure when the pose was created specifically for that figure.
- Drag and drop the pose from the Library to the figure. A tooltip displays the name of the character as your mouse hovers over it. Release the mouse when the tooltip displays the correct character name.
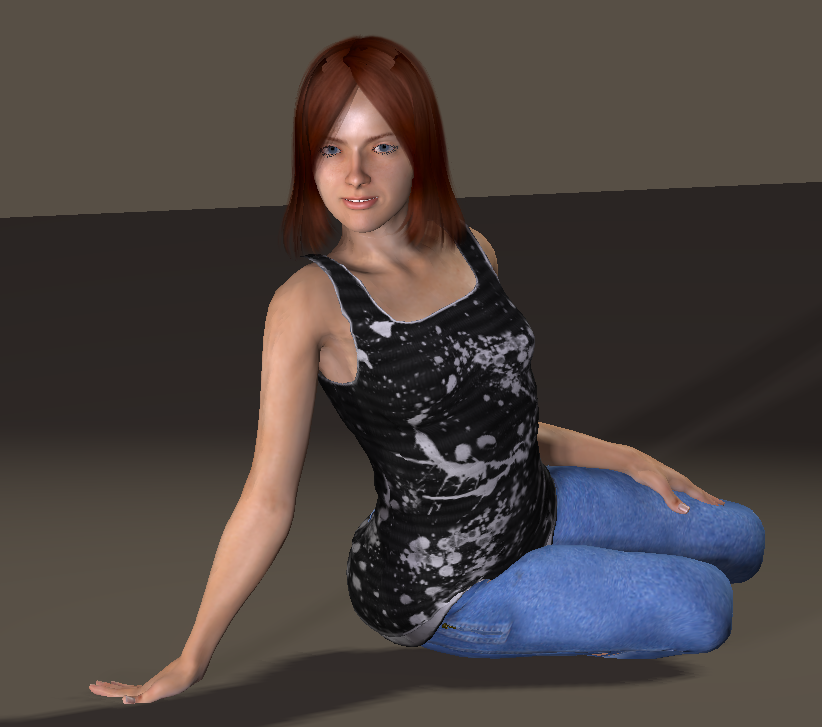
After posing, the clothing also poses with the character.
Poses that are set-up for figures with standard rigging may not apply correctly when uses with figures provided with Poser 7 and later.
Poses that were created in Poser 6 or earlier versions applied specifically to a particular figure. For example, a pose you may have created for the James figure may not work correctly when applied to the Kate figure due to the different joint setups between the two figures.