Exporting Files for Sharing
Save for sharing copies all assets for the saved document into a zip file. Where possible the Zip will contain the scene assets in the same directory structure as they originated from.
The Save for Sharing export is primarily designed to share files for testing. It does not create a Runtime structure that is ready for product submission to the store.
You should not distribute content created by other vendors without their permission.
To create a save for Sharing export:
- Choose File > Export > Save for Sharing.
- Poser notifies you that this will export all selected resources to a path that you specify, and place them under a Runtime folder at the location you specify. A Poser scene file (PZ3) will also be created in the selected folder at the root. Press OK to continue.
- The Select Objects dialog appears. Click Select All to include all items in the scene. To select specific items, choose Select None, and then check the items you want to include. Then click OK to continue.
- You will be prompted to choose a folder for your files. It is recommended that you select or create a new empty folder for the collection. For example, a new folder named "My Export Files" is created on the desktop, and the scene is assigned a name of "My Files to Share.pz3". After you select the folder and assign a name for the file, click Save.
- Poser notifies you that the shared scene file is complete, and creates a ZIP file in the location you specified. The path to the ZIP file is displayed in the notification window.
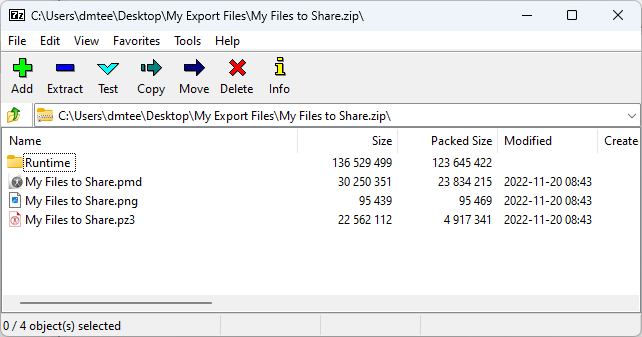
Files for Sharing ZIP file shown in 7-Zip.
To use a scene exported with Save for Sharing you will need to extract the content of the Zip to an empty folder. Make sure to preserve the folder structure inside the zip. Once extracted open the Poser scene file included in the zip.
Poser will include PMD files for each item in the scene, and for the PZ3 file, even if you export a partial scene for sharing.