Tighten
When you initially create a new fitting simulation, you’ll automatically be directed to the Tighten method by default. If you immediately press the Fit button in the upper section of the Fitting Room, you’ll be able to get an idea of which areas need to be worked on further.

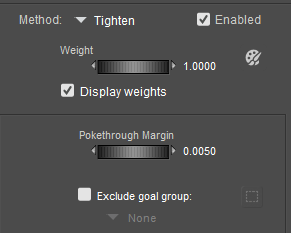
Tighten options.
- Pokethrough Margin: The pokethrough margin controls the amount of distance between the figure and the clothing item. The default setting creates a sufficient amount of space between the two to ensure that there is no pokethrough when the figure is posed. Decreasing the setting will bring the clothing closer to the figure, but may introduce pokethrough when posing the figure. Increasing the setting will create more space between the figure and the clothing.
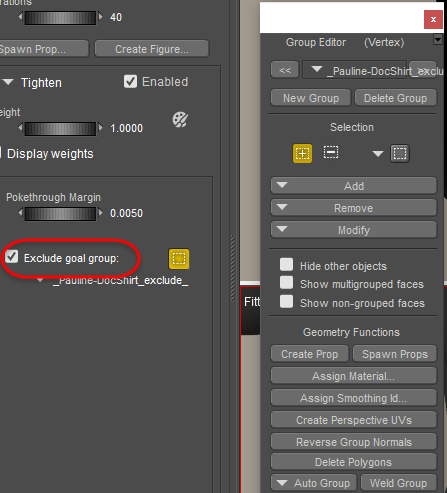
- Exclude Goal Group: Check this option to select a group that you want to exclude from the Tighten fitting method. This will create a new group in the clothing called _clothing name_exclude, where _clothing name_ is the name of the clothing item that is assigned in the fitting session. Click the Grouping Tool icon to open the Group Editor. This allows you to choose or create groups on the goal (the character you are fitting to).

Excluding goal groups.
- Paintbrush: Click the Paintbrush icon to enable the vertex painting tools. Initially, all of the vertices in the clothing object appear with green color, which indicates that the Tighten method is applied at full strength. You can use the Paintbrush to reduce the effect in areas that you do not want to tighten as much.