Tips & Tricks
When using your favorite 3D modeling application for creating new geometries for conversion into Poser figures/props, it is a good idea to follow these guidelines in order to speed up the figure creation process and provide a better end result:
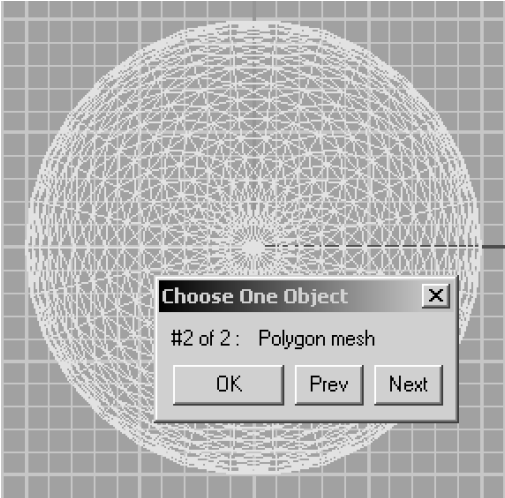
- Make sure that you do not have duplicate or overlapping polygons. Duplicate polygons occur when you have two identical parts of the geometry occupying the same location, for example if you accidentally paste an item twice. The following graphic depicts an instance of duplicated polygons within a 3D modeling application.

Two spheres that overlap each other.
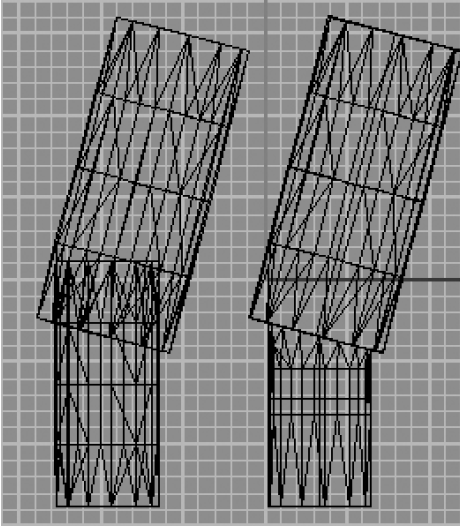
- Eliminate overlapping polygons, which can occur if pieces of the geometry are embedded within each other. The following graphic shows an example of overlapping polygons on the left (the smaller pipe embedded within the larger one), and the correct way to create the geometry on the right (without overlapping polygons).

Remove overlapping polygons.
- Poser allows you to import geometries as a single file with groups within the file, as separate files, or as a single file with no groups. We recommend that you create your geometries as single files with no groups, since Poser includes powerful grouping tools and since some geometry formats (such as Wavefront OBJ) allow you to assign polygons to more than one group at a time. Importing geometries with polygons assigned to more than one group will cause Poser to duplicate those polygons, resulting in additional unwanted figure parts.
Use the following procedure to import geometries into Poser:
- Begin the process by creating a polygonal mesh object in your favorite 3D modeling application. Once you have finished, import it into Poser by selecting File > Import > format, where format is the format you wish to import (such as OBJ). A Standard Open dialog appears, allowing you to select your desired filename and path.
- Once you have selected the desired geometry, the Prop Import Options dialog appears. It contains the following options:
- Centered: Checking the Centered checkbox positions the imported geometry in the center of the Poser workspace.
- Place on floor: When enabled, the Place on Floor option places the bottom of the prop at “ground level” on the floor of the workspace.
- Percent of standard figure size: The Percent of standard figure size option scales the geometry relative to the height of a standard Poser figure. For example, setting the scale to 50% imports the geometry at 50% of the height of a standard Poser figure. The rest of the geometry scales to maintain the correct proportions relative to the selected height. When importing DXF geometries, Poser considers one DXF unit as being equal to the height of a standard Poser figure, or about six feet.
- Offset: Entering numeric values in one or more of the Offset fields positions the geometry at the selected position within the Poser workspace.
- Weld identical vertices: When enabled, the Weld identical vertices option unites identical vertices within the geometry.
- Make polygon normals consistent: If the geometry file contains vertex normals, checking the Make polygon normals consistent checkbox makes the polygon normals consistent with the vertex normals.
- Flip normals: The Flip Normals option reverses all of the geometry’s normals.
- Flip U Texture Coordinates: The Flip U Texture Coordinates option reverses the geometry’s U texture coordinates.
- Flip V Texture Coordinates: The Flip V Texture Coordinates option reverses the geometry’s V texture coordinates.
- Once you have finished selecting your desired options, click the OK button.
- The geometry file imports into Poser. The amount of time required to import a geometry file depends on factors such as the size of the file, number of polygons or groups, speed of your computer, etc. A progress indicator tracks the import process. When the process is complete, the imported geometry appears in your Poser Document.

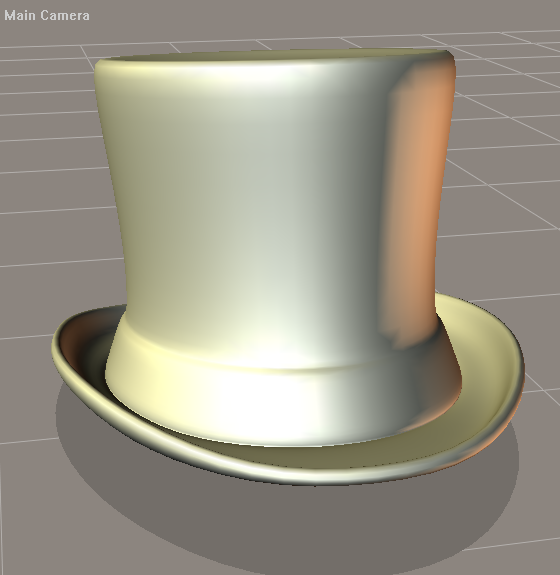
An object after it is imported into your scene.
Imported geometries are treated as static props. You can add props to the Library palette as described in Maintaining Your Library Palette and/or can convert props into poseable Poser figures using either the graphical Setup room (see The Setup Room for instructions on using the Setup room) or the legacy text-based method (refer to Creating and Converting Hierarchy Files).