Adding Weight Maps to Magnets
Select the right collar, and choose Object > Create Magnet.
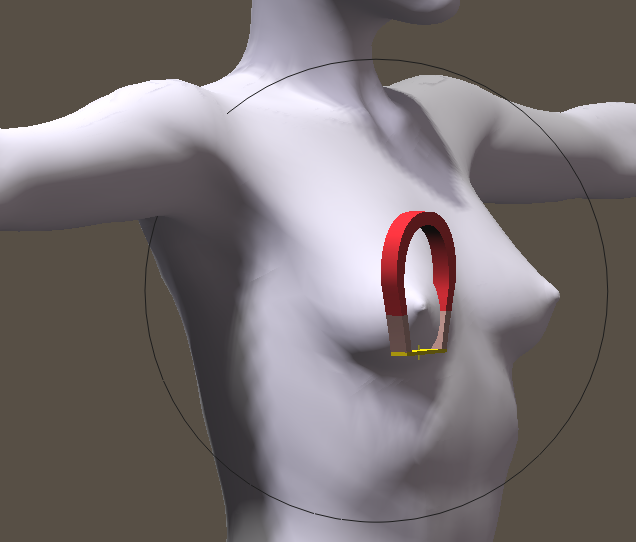
Create a magnet for the right collar.
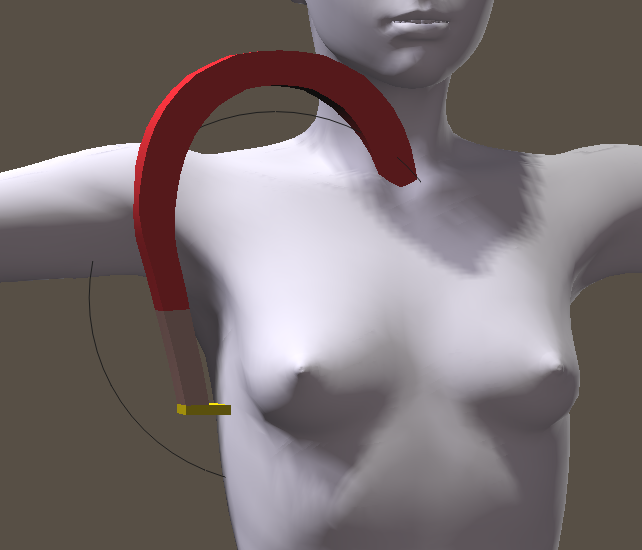
Choose the magnet base and move it into position.
Scale and move the magnet base into position beneath the breast.
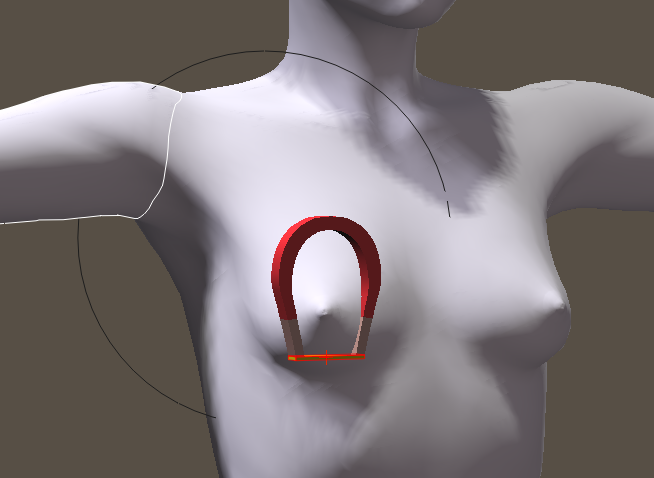
Scale the magnet zone up and move it into position.
Select the magnet, and switch to the Properties palette. Click the Add Element to Deform button, and then add the Chest as an element to deform.
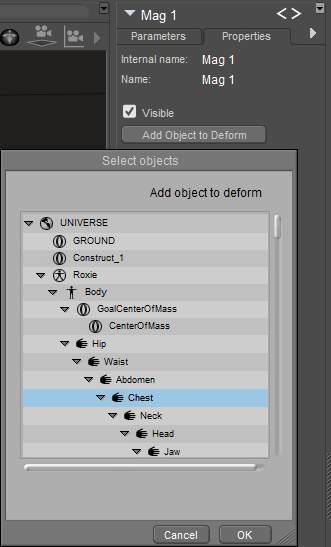
Select the magnet and add the Chest as an additional element to deform.
If you need to exclude groups that you have added to a magnet, elect the magnet zone and switch to the Properties tab. The Group option allows you to check groups that will be affected by the magnet zone. Any unchecked group will not be affected. Choose a group once to place a checkmark, and a second time to remove an existing checkmark. For more information about magnet zone properties, see Magnet_Zone_Properties.
Next, select the magnet zone and check the Use Weight Map option in the Properties palette. Then click the Paintbrush icon to open the weight painting palette. Initially, all of the vertices on the right collar and the chest will display in green, indicating that the weight map values are all at full strength.
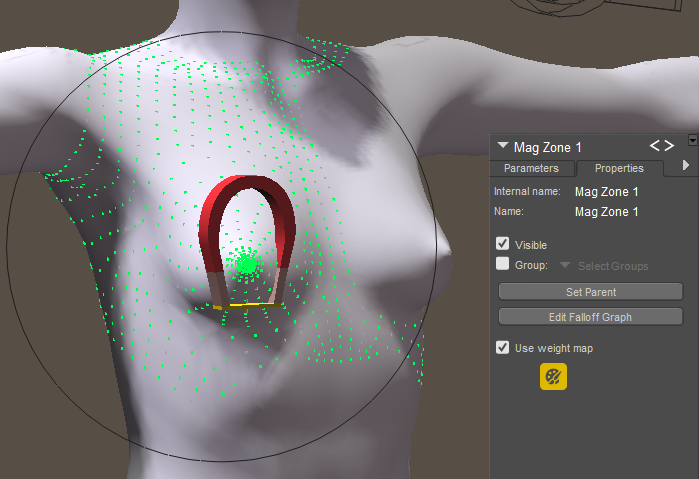
Enable the weight painting options for the magnet zone.
Use the Subtract brush to paint out the areas that you don’t want the magnet to affect. This allows you to define the affected area with great precision. It is helpful to view the figure in Hidden Line display mode while you paint the vertices. Also be sure to move the magnet across the range of motion that you want the magnet to affect. In other words, if you want the magnet to raise the breast, translate the magnet on the Y axis. You may find that some areas will need to be smoothed to create a nice blend between the affected and unaffected vertices.
If you have multiple groups included in the items to deform, you can also use the Restrict To features in the Vertex Weights palette to paint on one or more of those groups at a time. Check the Restrict To option and choose By Group to select one or more groups to paint on.
If you are working with a magnet on a body part that contains multiple materials (for example, a head that also has lip, eye socket, teeth, and so on), you can click the Restrict To option in the Vertex Weights palette to restrict weight painting to only those materials that you add to the restriction list. Select one material at a time until all materials are added to the list.
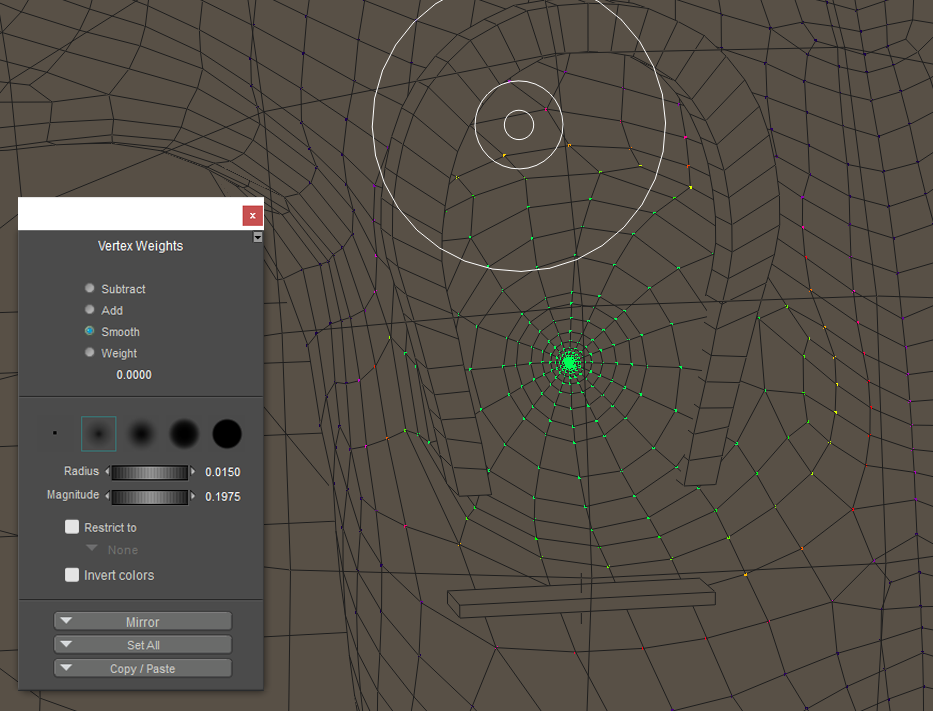
Paint and smooth the weight map to affect the areas that you want the magnet to affect.
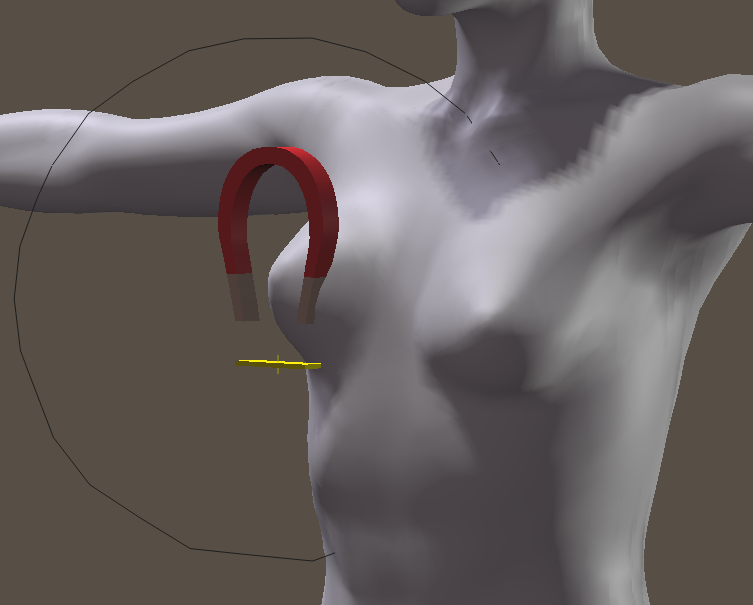
The breast adjusted with the weight-mapped magnet.
Now select the left collar, and create a new magnet. Position and scale the magnet base and magnet zone using the same values as the right breast (except for the X translations, which should be negative values on the right breast and positive values on the left breast).
Create a magnet for the left collar, scaling and positioning them the same as the right collar (except X translation settings are positive).
Select the new magnet and add the Chest as an element to deform, just as you did for the right collar magnet.
Now select the magnet zone for the right collar (the first one you created). In the Properties palette, click the Paintbrush icon to open the Vertex Weights palette. Click the Copy/Paste button at the bottom of the palette, and choose Copy to copy the weight map into your clipboard.
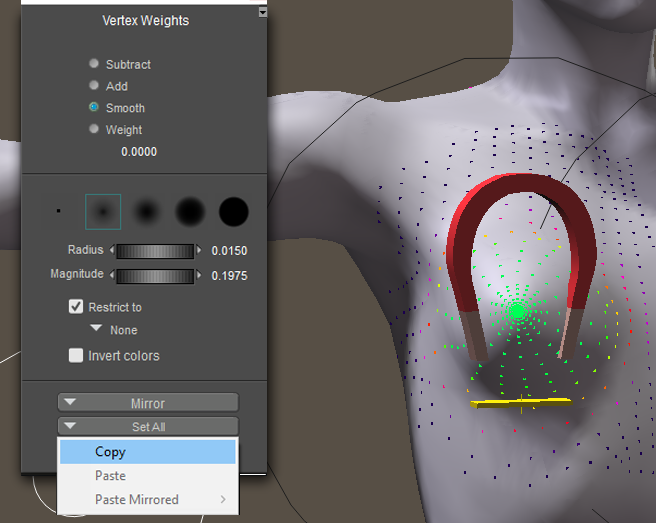
Copy the weight map from the right collar into your clipboard.
Use the Select Actor menu in the Properties palette to select Magnet Zone 2 (the zone for the left collar).
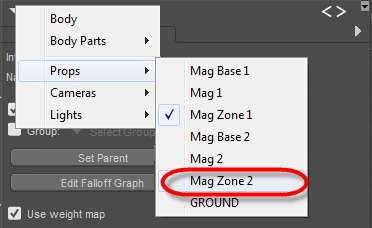
Select the second magnet zone from the Properties tab menu.
Click to activate the paintbrush for Magnet Zone 2, and then click the Copy/Paste button again. This time, choose Paste Mirrored > X Axis to mirror the weight map from the right breast over to the left breast.
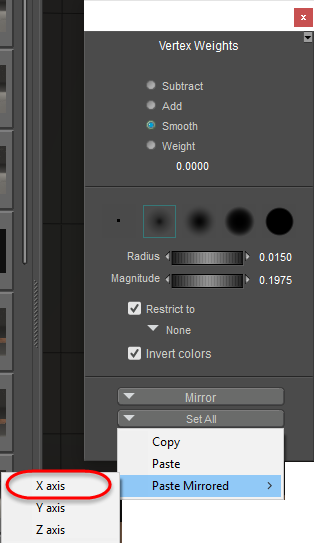
Paste the weight map in the clipboard, mirrored on the X axis.
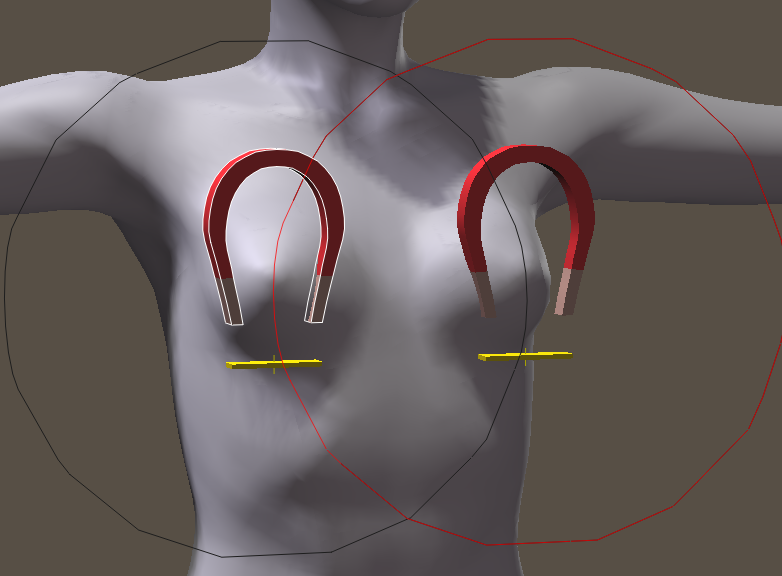
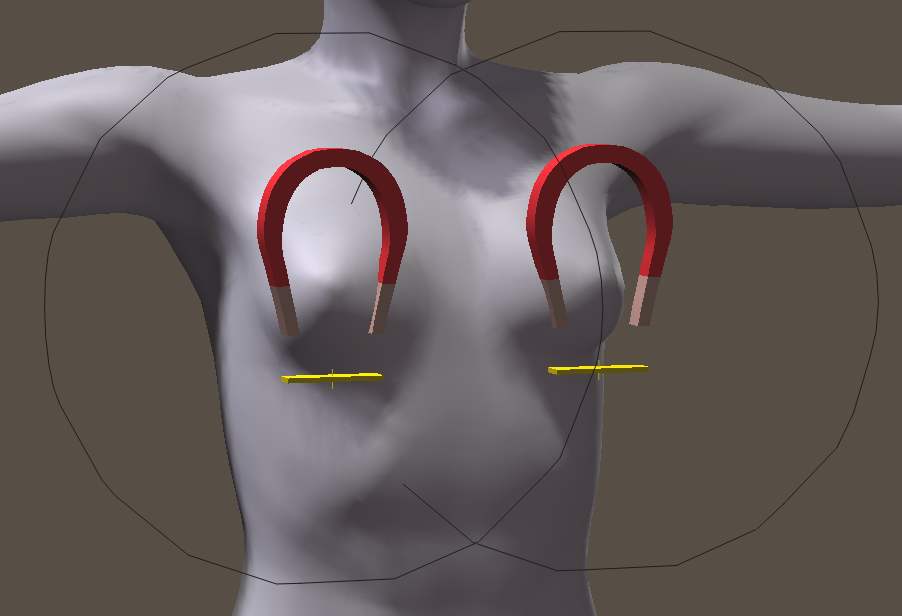
The final result.