Light Properties
Light properties help you fine-tune your lighting effects. To access a light’s properties, select the light and either click the Light Properties icon in the Light controls or select Object > Properties. You can also access light properties in the Properties palette.
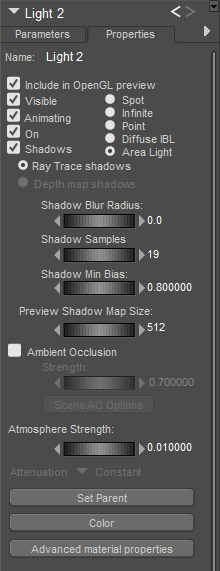
Light Properties.
Depending on the light type that you select, you can control some or all of the following light properties:
- Include in OpenGL Preview: By default, Poser displays the eight brightest lights. Users can optionally choose which eight to display. By providing real time previews of eight user-selectable lights, posing and lighting is faster and yields better results. Use this option to select each light you want to illuminate the scene preview. Mip Map support has been enabled for enhanced performance when previewing large textures. Together, these real-time preview engine enhancements let the user view larger textures and offer more complete scene previewing when setting up lights If your scene has more than eight lights, you can check or uncheck this option to include or exclude the current light from the preview display.
- Visible: Checking the Visible checkbox makes the light visible in the Document, and vice versa. Invisible objects are not included in any render calculations, and do not appear in the rendered scene. See Figure Properties for information on animating the Visible property.
- Animating: Checking the Animating checkbox allows you to animate the light just as you would any other Poser object. Animated lights can also have different settings in various keyframes. For example, you could create a red spotlight on your figure’s left side that orbits overhead and turns blue. When you rendered this animation, you would see your figure’s color changing and shadows moving with the light. You cannot animate lights that are turned off (see above).
- On/Off: Checking the On box turns the light on, just like flicking its switch. Clearing the checkbox turns the light off. As a shortcut, you can also press OPT/ALT while clicking a light in the Light controls to toggle the selected light on or off.
- Spot/Infinite/Point/Diffuse IBL/Area Light: Check the appropriate radio button to make your selection.
- Shadows: Checking the Shadows checkbox enables you to choose one of the following two options:
- Raytrace Shadows: Selecting Raytrace Shadows enables raytracing of shadows. Traditionally, raytracing results in clear, hard-edged shadows. However, Poser offers a method for softening the shadow edges, thus adding more realism to your raytraced shadows. You can control this effect using the Shadow Blur Radius dial (see below).
- Depth Map Shadows: Selecting Depth Map Shadows enables depth-based shadow mapping. If you are using displacement maps, we recommend you select this option rather than raytracing, for greater accuracy. Enabling this option activates both the following dials:
- Shadow Blur Radius: All shadows have a blurry region around their edges. The Shadow Blur Radius parameter specifies the radius of this blurry region. By default, this dial is set to a low value. Raising the blur radius increases the soft shadow edge effect.
- Shadow Samples: The Shadow Samples parameter controls the smoothness of shadows. The default value is equivalent to earlier Poser versions that used a fixed quality. Lower shadow sample settings render faster but may produce grainier shadows with a random dither. Higher shadow samples reduce the graininess that can sometimes be seen in soft raytraced shadows. As a general rule, the larger your Shadow Blur Radius setting is, the more you will need to increase the Shadow Samples to get a smooth result.
- Shadow Min Bias: The Shadow Min Bias parameter specifies how far to shift samples towards the light source to prevent self-shadowing of objects.
- Preview Shadow Map Size: Sets the amount of detail in the shadows that are displayed by the preview render. Default is 512. Higher values will make the shadow preview more detailed and accurate but will increase usage of system resources.
- Ambient Occlusion: Checking the Ambient Occlusion checkbox enables Ambient Occlusion for the selected light. Ambient occlusion adds realism to your scene by approximating the way light and shadows act in real life. It helps bring out details in creases and corners. This option provides the advantage of calculating Ambient Occlusion effects on all surfaces within the scene, without having to attach an Ambient Occlusion node to every material. Enabling this option activates the following controls:
Ambient occlusion on lights is not supported in SuperFly.
- Strength: The Ambient Occlusion Strength dial specifies the degree to which Ambient Occlusion effects will darken the occluded surfaces within the scene.
- Scene AO Options: The Scene Ambient Occlusion Options button provides access to the global set of Ambient Occlusion parameters. These parameters are described in Ambient Occlusion (Ambient_Occlusion).
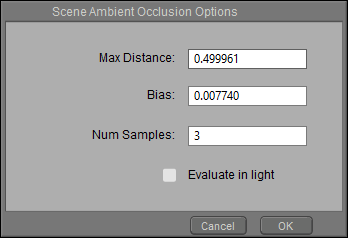
Scene Ambient Occlusion options.
- Atmosphere Strength: The Atmosphere Strength dial and field allow you to specify the strength of atmospheric (volumetric) effects. This attribute is used in conjunction with the Root Atmosphere node, which is described in Root Atmosphere Node.

Atmosphere Strength control.
Atmosphere Strength is not supported in SuperFly.
- Set Parent: Clicking the Set Parent button allows you to make the light a child of another element in your scene.
- Color: Clicking the Color button opens the Poser Color Picker, allowing you to set the light’s color.
- Advanced Material Properties: Clicking the Advanced Material Properties button will automatically take you to the Material room, with the current light active in the Shader window’s Advanced tab. Please refer to Edit View for more information about the Edit view of the Shader window, and to Root Light Node for more information about the root Light node attributes.
- Attenuation: (Enabled for Spot lights or Point lights only): This setting controls how bright or dark a spot light or point light gets based on the distance away from the light source. Options for spot and point lights are:
- Constant: Behaves the same as Poser 7 and earlier lights. This setting is predictable and controllable. The Start Distance and End Distance parameters are very useful for setting how close or far the light reaches.
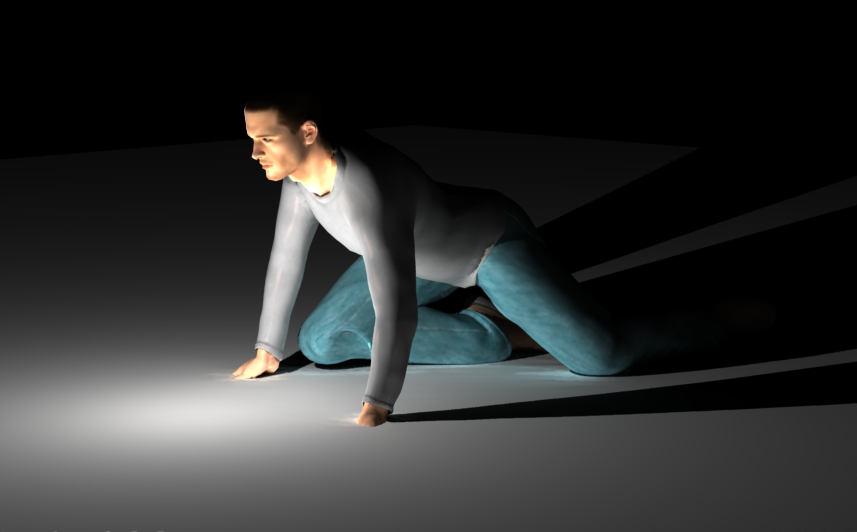
Constant Attenuation.
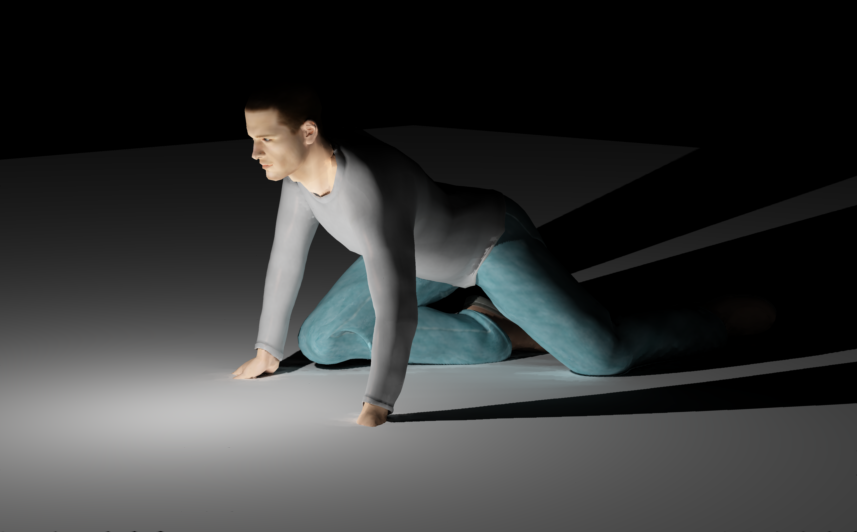
Constant Attenuation with Tone Mapping.
- Inverse Linear: Use this option for lights that are more physically correct. Objects that are close to the light source are infinitely brighter (not exponentially, but linearly). In other words, of Object B is twice the distance from the light as Object A, then Object B receives half as much light as Object A. This option allows some artistic freedom without being as touchy as Inverse Square (described next).
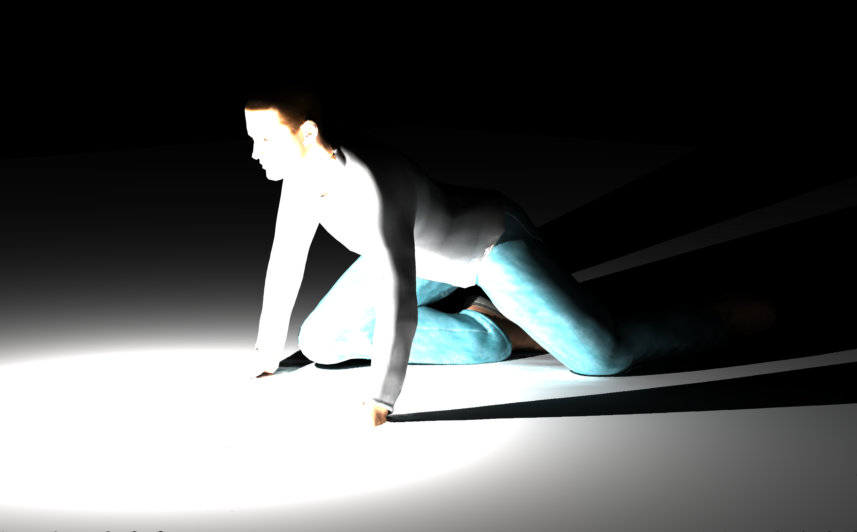
Inverse Linear Attenuation.
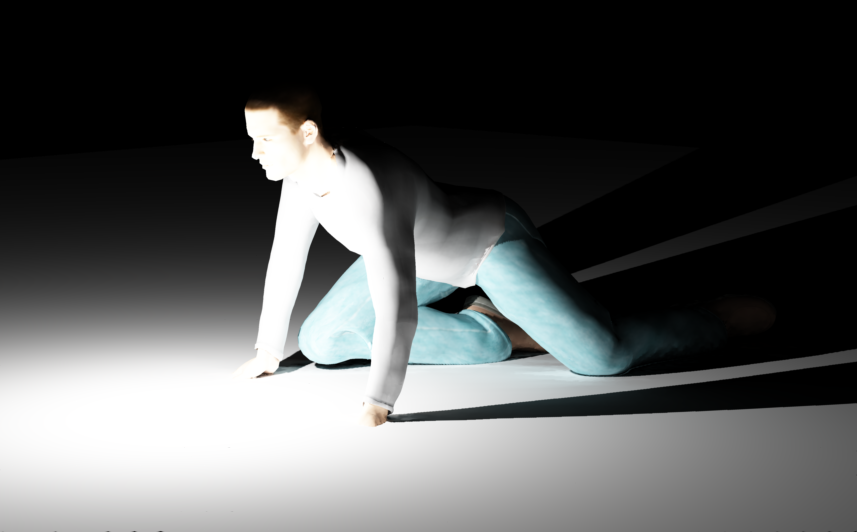
Inverse Linear Attenuation with Tone Mapping.
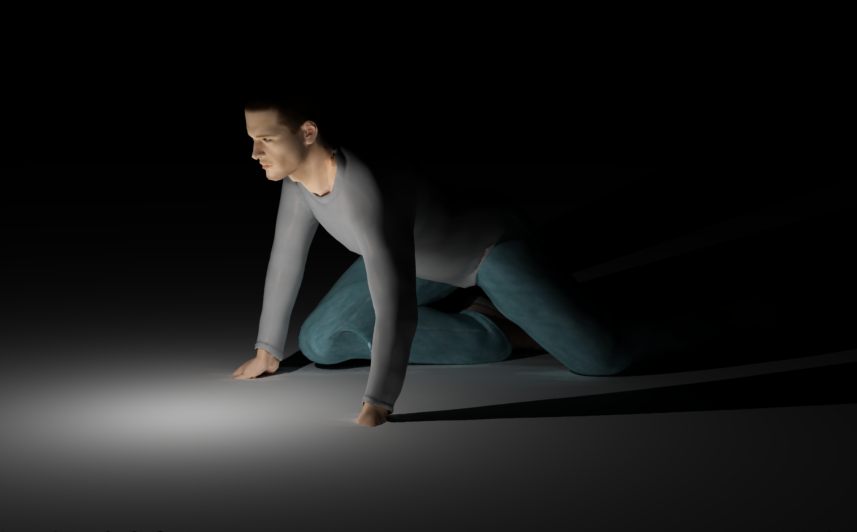
Inverse Linear Attenuation with Tone Mapping, Adjusted.
- Inverse Square: This option provides physically correct lighting that is more dramatic, and harsher than Inverse Linear. The light brightens exponentially as you get closer to the light source. If Object B is twice the distance from the light as Object A, it receives 1/4 the amount of light.
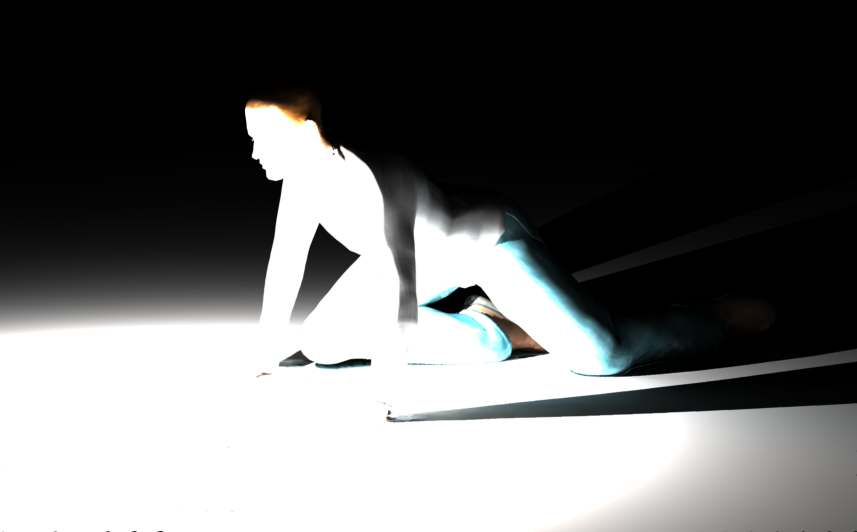
Inverse Square Attenuation.
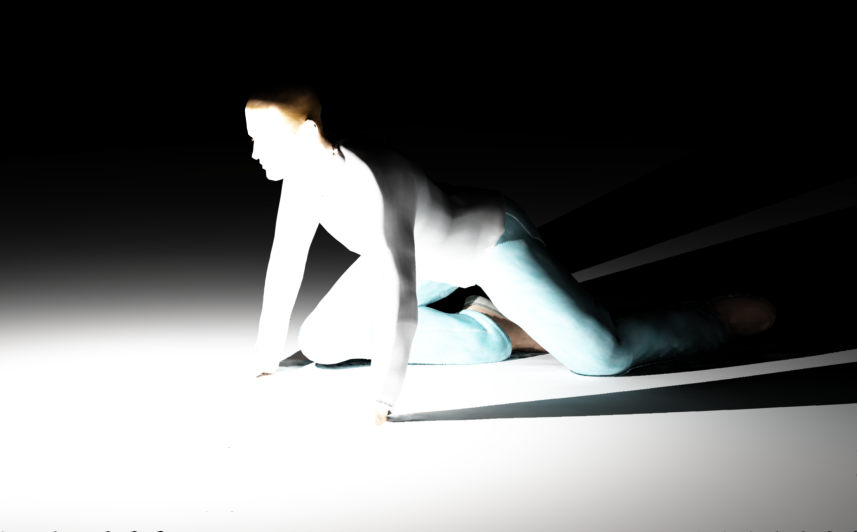
Inverse Square Attenuation with Tone Mapping.
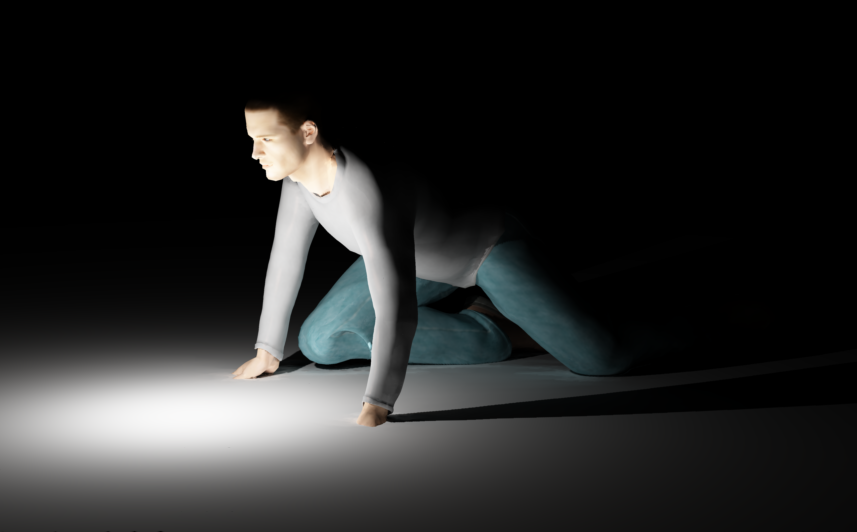
Inverse Linear Attenuation with Tone Mapping, Adjusted.
- Evaluate in Light: When checked, includes Ambient Occlusion in render calculations relating to light and shadows.
- Set Parent: Opens the Object Parent dialog, which allows you to choose any object in your scene as a parent of the selected light.
- Color: Opens the Color Palette so that you can quickly set the light color.
- Advanced Material Properties: Opens the advanced material editor, with the light selected so that you can specify other material properties for the light. Available inputs are Color, Intensity, Angle Start, End, and Expo, Diffuse Color, Specular Color, Image Resolution, and IBL Contrast.